Creating DIY e-liquid flavors at home is a satisfying way to personalize your vaping experience. Instead of relying on commercial blends, you can tailor every puff to your exact taste. Whether you’re looking for a sweet dessert, fresh fruit, or even a bold tobacco tone, making your own vape juice puts creativity in your hands.
In this guide, we’ll walk you through everything you need to know—from ingredients to safety to flavor mixing techniques—so you can confidently start making your own e-liquid at home.
Why Choose DIY E-Liquid Flavors?
Personalization and Control
When you create your own vape juice, you decide the flavor intensity, nicotine strength, and PG/VG ratio. This level of customization is simply not available with off-the-shelf products.
Cost Savings
Over time, DIY e-liquids cost significantly less than buying pre-made ones. A small investment in ingredients can last for months.
Greater Transparency
Knowing exactly what goes into your e-liquid offers peace of mind. You can avoid unwanted additives or artificial ingredients found in some commercial juices.
What You Need to Get Started
Before you begin, make sure you have the essential components and equipment. Preparation is key to ensuring a safe and enjoyable DIY process.
Basic Ingredients
- Propylene Glycol (PG): A thin, flavor-carrying base that gives a throat hit.
- Vegetable Glycerin (VG): Thicker than PG, VG creates more vapor and has a slightly sweet taste.
- Nicotine (Optional): Choose the strength that suits your needs or skip it entirely.
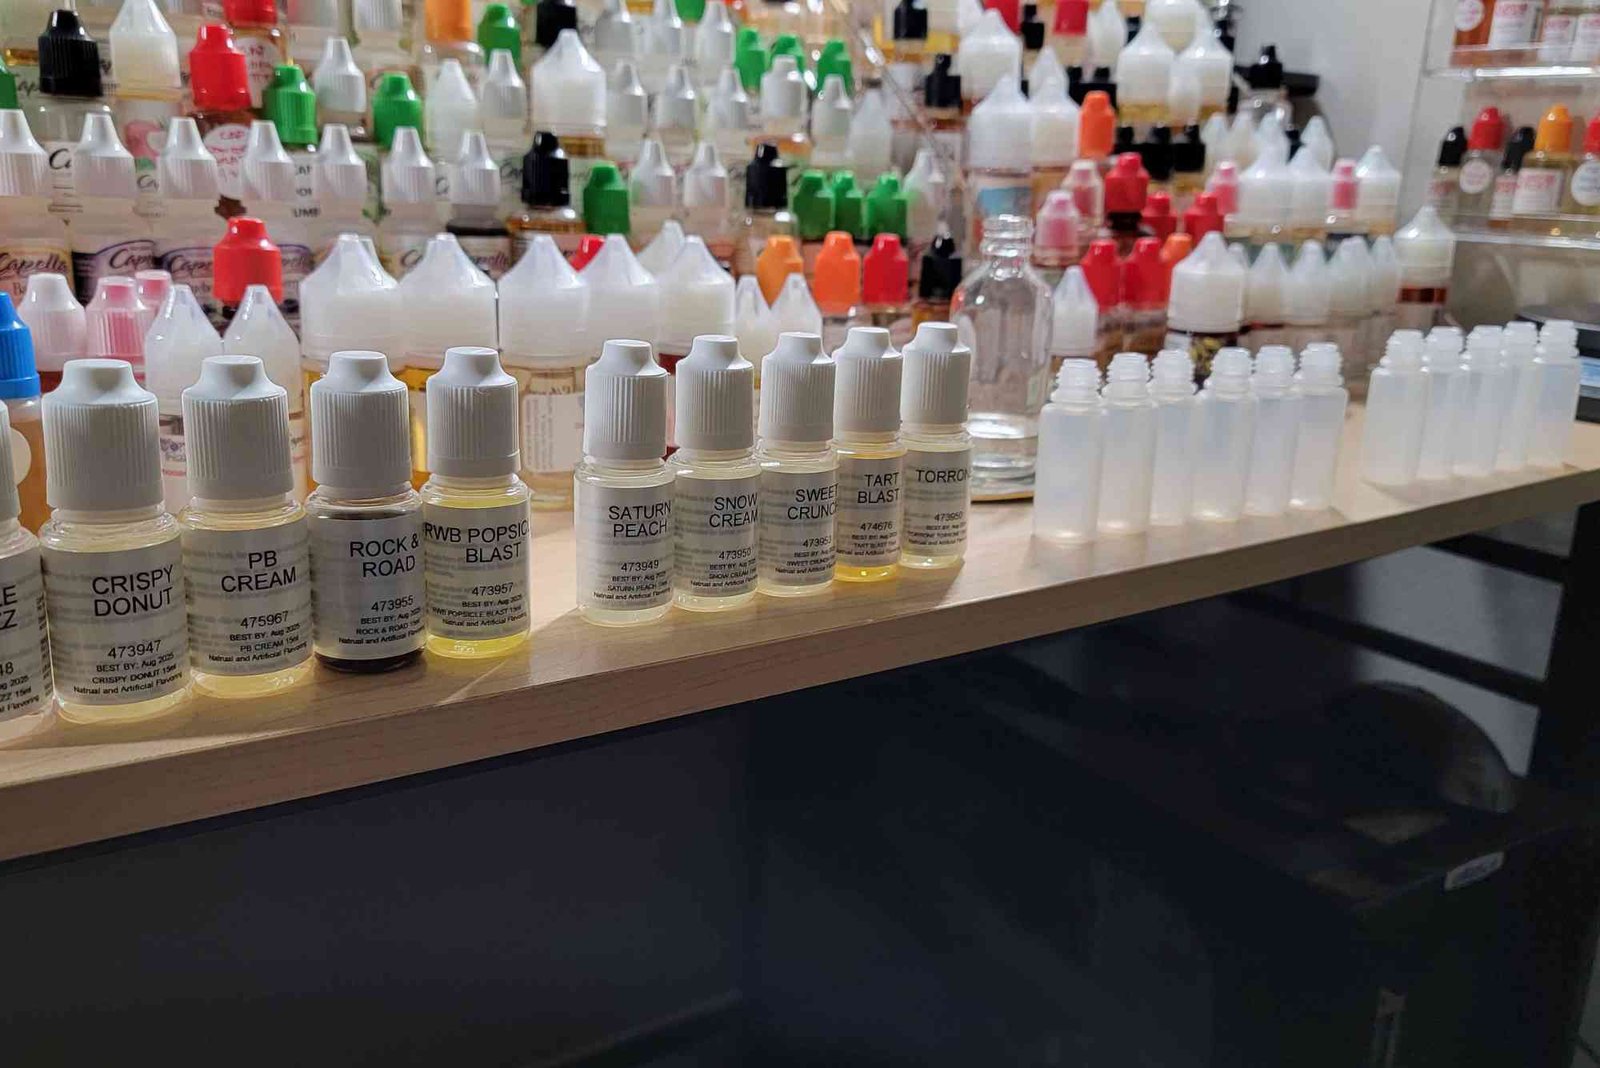
- Flavor Concentrates: These are food-safe and made specifically for e-liquids.
Essential Tools
- Empty bottles (preferably with childproof caps)
- Syringes or pipettes for accurate measuring
- Gloves and goggles for safety
- Labels for tracking your mixes
- Notebook or app for recipe logging
Step-by-Step Guide to Making DIY E-Liquid Flavors
Decide Your PG/VG Ratio
A 50/50 mix offers a balanced throat hit and vapor. For more clouds, increase VG. For sharper flavor and stronger throat hit, add more PG.
Choose Your Nicotine Strength
Be precise when handling nicotine. If you’re a light smoker or new to vaping, 3–6 mg/mL is a good starting point. Always use gloves when handling nicotine.
Select and Combine Flavors
Start with one or two flavor concentrates. Fruit flavors are forgiving, while dessert or tobacco flavors may require more fine-tuning.
Use flavoring at 10–20% of your total mix, depending on the brand and flavor strength.
Measure and Mix Ingredients
Using syringes or a digital scale, measure your PG, VG, nicotine, and flavoring. Mix thoroughly by shaking the bottle vigorously or using a magnetic stirrer.
Steep Your E-Liquid
Some flavors develop better over time. Store your bottle in a cool, dark place for a few days or weeks. Shake occasionally. Fruit flavors usually require less steeping, while dessert or custard flavors benefit from longer periods.
Test and Adjust
After steeping, try a small sample. If the flavor is weak, add a little more concentrate. If it’s too strong, dilute it with more base liquid.
Flavor Mixing Tips for Beginners
Start Simple
Begin with single-flavor recipes. Mastering one flavor will help you understand how each ingredient affects the final taste.
Keep Notes
Track every mix. Document the exact measurements, brand of ingredients, and results. This habit saves time and avoids mistakes.
Use Reputable Sources
Always buy flavorings and ingredients from trusted suppliers. Make sure all products are intended for inhalation, not just general food use.
Safety First: What Every DIY Mixer Should Know
Store Ingredients Safely
Keep all e-liquid ingredients, especially nicotine, out of reach of children and pets. Store them in a cool, dark place.
Label Everything
Clear labeling avoids confusion and accidental misuse. Include date, flavor, nicotine strength, and PG/VG ratio on each bottle.
Work in a Clean Environment
Clean your workspace and tools before and after every session. This ensures consistency and prevents contamination.
Common Mistakes to Avoid
- Overcomplicating recipes early on
- Using flavors not designed for vaping
- Guessing measurements instead of using proper tools
- Not steeping when required
- Ignoring safety protocols with nicotine
Learning from mistakes is part of the journey, but avoiding these common errors can save you time, money, and frustration.
Advanced Tips for Crafting Unique DIY E-Liquid Flavors
Layering Flavors
Combine a dominant base flavor with subtle accent notes. For example, mix strawberry (base) with vanilla (accent) for a creamy fruit blend.
Adding Sweeteners
Add sweeteners sparingly. Too much can overpower the mix or gunk up coils. Use vape-specific sweeteners like ethyl maltol or sucralose.
Temperature-Specific Tasting
Try your mixes at different wattages and coil resistances. Some flavors shine at lower temps, while others need more heat to bloom.
Start Creating Your DIY E-Liquid Flavors Today
Making DIY e-liquid flavors at home is a rewarding way to take control of your vape experience. With a bit of practice and attention to detail, you’ll soon be crafting blends that rival the best store-bought options.
Start simple, stay safe, and enjoy the creative journey. Ready to try your first mix? Gather your tools and flavor ideas—and get started today!
Frequently Asked Questions (FAQs)
Can I use food flavoring to make e-liquid?
Only if it’s labeled as safe for inhalation. Many food flavorings contain oils or additives not suitable for vaping.
How long should I steep my DIY e-liquid?
It depends on the flavor. Fruit blends may be ready in a few days. Creamy or dessert flavors often need 2–4 weeks.
Is it cheaper to make your own vape juice?
Yes. DIY e-liquid can be significantly cheaper over time, especially if you buy ingredients in bulk.
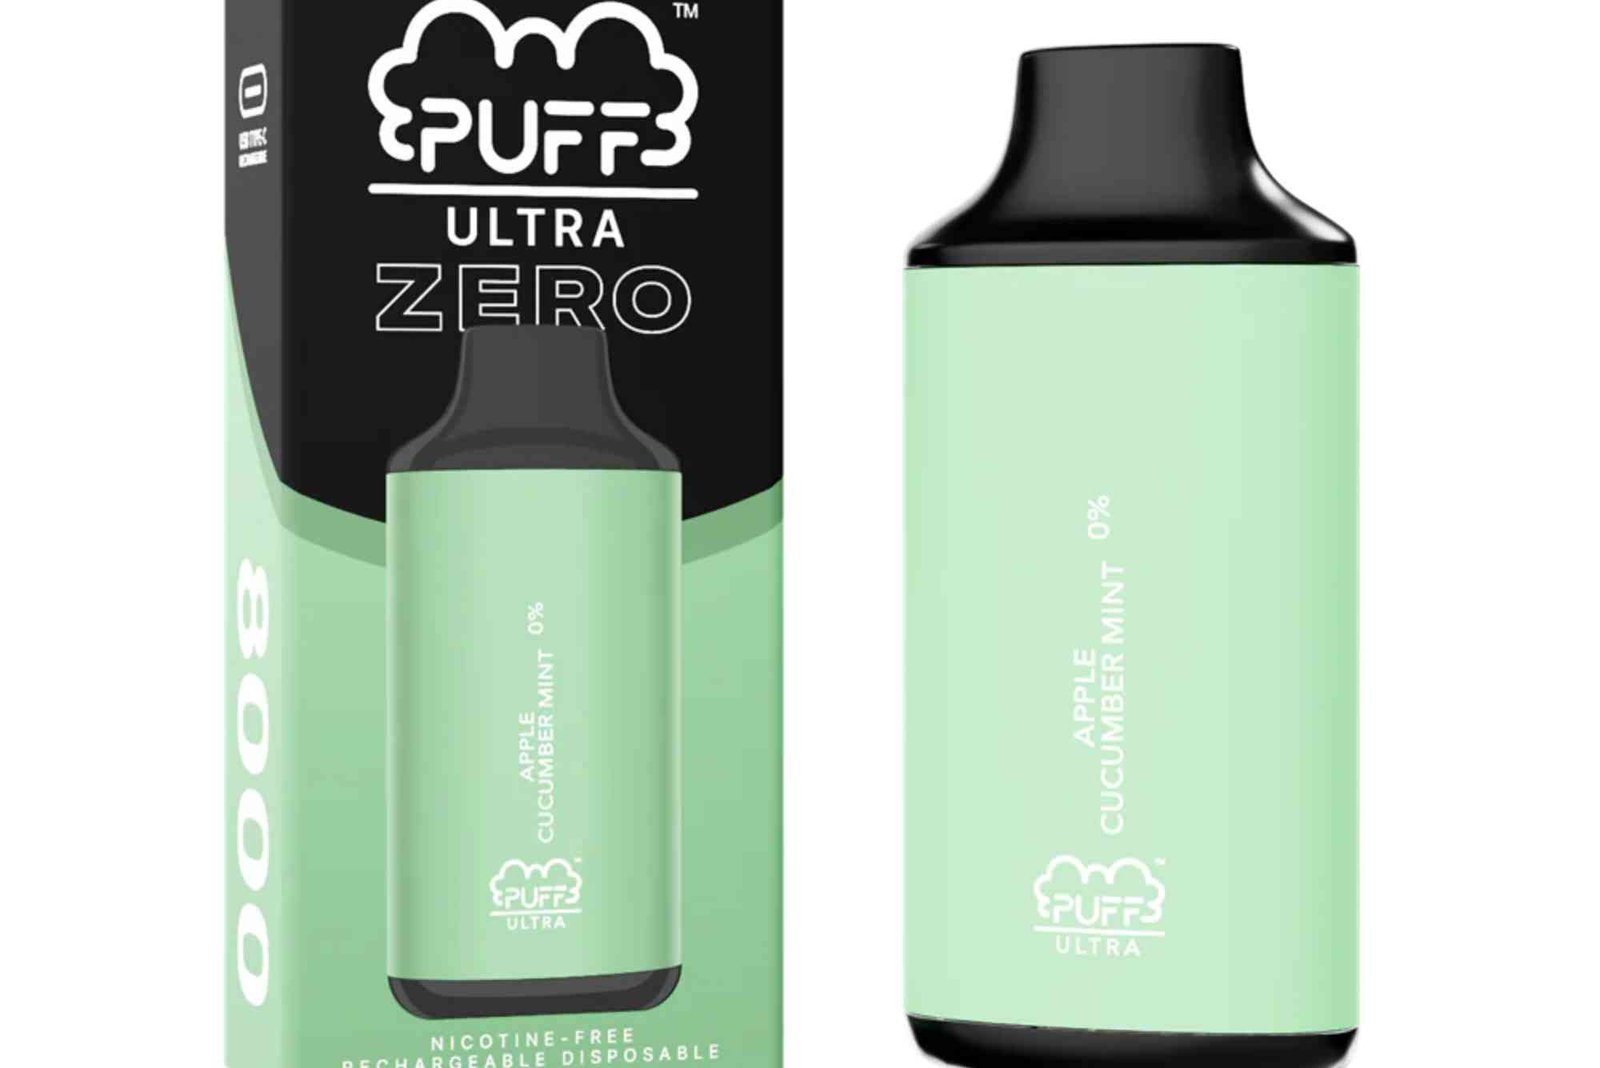
Do I need nicotine in my DIY e-liquid?
No, nicotine is optional. Many users prefer zero-nicotine mixes for flavor alone or to reduce dependency.
How do I know if I added too much flavoring?
The mix may taste harsh, overly sweet, or “off.” You can dilute it with more base liquid to balance it out.