Setting Up Your Vape: Step-by-Step Instructions
Whether you’re a first-time vaper or switching devices, getting your vape setup right is essential for safety, performance, and satisfaction. A well-executed vape setup ensures smooth vapor production, optimal nicotine delivery, and flavor-rich clouds. In this detailed vape setup tutorial, we’ll guide you through each step to ensure your device works perfectly, from unboxing to your first puff. Whether you’re using a pod system, vape pen, or advanced mod, these instructions apply to most types of vape devices with slight adjustments.
Understanding Your Vape Device
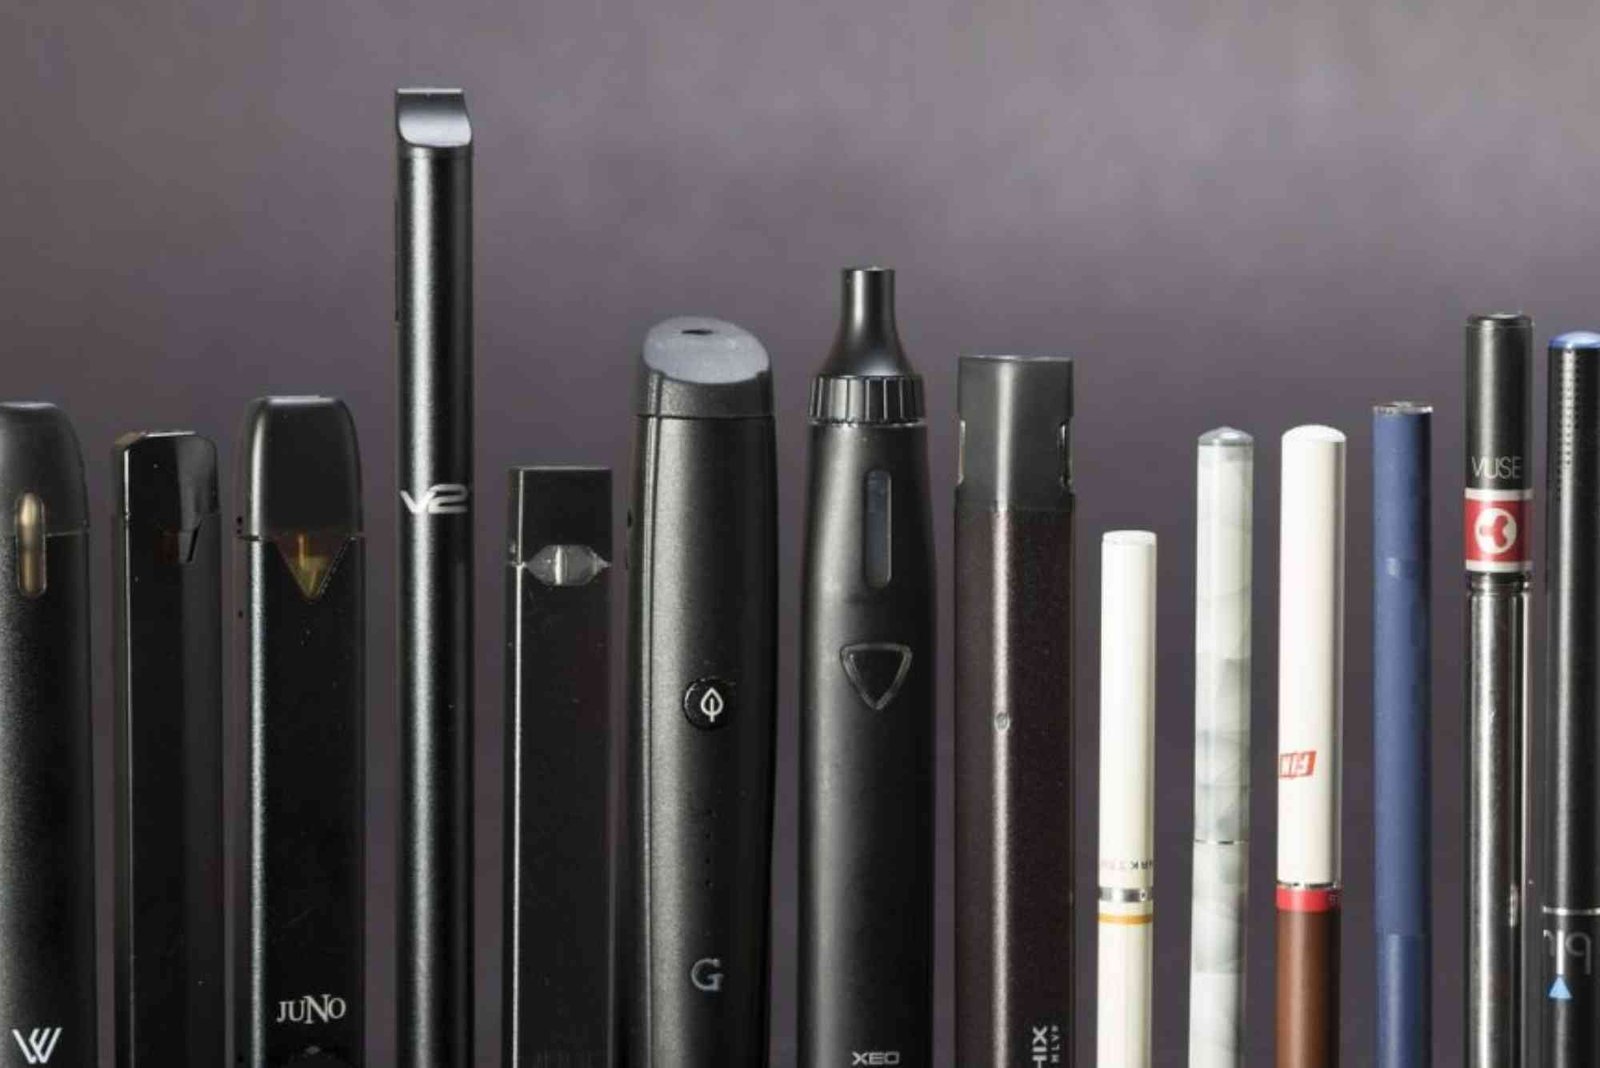
Before diving into the setup process, it’s important to understand the components of your vape. Most devices, regardless of style, share similar parts. These typically include the battery or mod (the power source), the tank or pod (which holds e-liquid), a coil (the heating element), and a mouthpiece. Some devices come pre-assembled, while others require manual installation of the coil or tank.
The three most common vape device categories are pod systems, vape pens, and box mods. Pod systems are compact and beginner-friendly. Vape pens are a middle-ground option with refillable tanks. Mods offer high power, customizability, and often come with replaceable coils and tanks. Each of these requires a different level of setup, but the core principles remain the same.
Vape Setup Tutorial
Unbox and Inspect
Begin by carefully unboxing your vape device. Check for all necessary components: battery, tank or pod, coil(s), USB charging cable, user manual, and any spare parts. Ensure nothing is damaged or missing. If you notice any issues, contact the retailer before use. It’s also a good idea to read through the manual briefly, especially for mods with advanced settings.
Charge the Battery
Before first use, fully charge the device. Most vapes come partially charged, but topping off the battery ensures optimal performance. Use the provided charging cable and plug it into a USB power source. Avoid using fast chargers unless recommended, as excessive current can damage the battery. Once charged, disconnect promptly to prevent overcharging.
Prime the Coil
Priming the coil is one of the most crucial steps in any vape setup tutorial. It prevents dry hits and extends the coil’s lifespan. To prime a coil, locate the cotton-filled holes around it and apply a few drops of e-liquid directly onto the cotton. If the coil is pre-installed in the pod or tank, just remove the tank or pod and drip e-liquid on the visible cotton.
After priming, allow the coil to soak in the tank for at least 5–10 minutes before use. This ensures the cotton is fully saturated and won’t burn when heated. Skipping this step can result in a burnt taste and ruin the coil instantly.
Fill the Tank or Pod
Most tanks or pods have a fill port either on the top, side, or bottom. Open the fill port, insert the e-liquid nozzle, and slowly squeeze your juice into the tank. Fill it about 80–90% full to leave room for air and avoid overflow. Be cautious not to get liquid into the center airflow tube (in tanks), as this may cause leaking or spitback.
After filling, securely close the fill port. With pod systems, the refill port might be covered by a rubber stopper—make sure it’s sealed tight to avoid leaks.
Assemble the Device
Once the tank is filled and the coil primed, it’s time to assemble your vape. If using a mod, screw the tank onto the battery or mod device. Make sure it’s snug but don’t overtighten. For pod vapes, simply snap or slide the pod into place. Some devices will click or light up when properly connected.
At this point, ensure your airflow settings (if adjustable) are open for your desired draw. Beginners often prefer a more restricted airflow for a tighter draw, similar to smoking. More experienced users may opt for a looser airflow for bigger clouds.
Power On and Set the Wattage
Most vape devices use a five-click system to power on or off. Click the fire button five times rapidly to turn on your device. If you have a variable wattage device (common in mods), check the recommended wattage range for your coil (usually printed on the coil or in the manual). Set your device to the lowest recommended wattage to begin with and increase gradually based on preference.
Avoid starting at high wattages, as this can burn the coil or deliver an unpleasantly hot vape. Lower wattage also helps new users get used to the throat hit and vapor intensity.
Take Your First Puff
Now you’re ready to vape. If your device has a fire button, press it while inhaling gently through the mouthpiece. Pod systems often have auto-draw features, activating when you inhale. Take slow, steady draws rather than fast or forceful pulls. This ensures proper vaporization of the liquid and prevents flooding the coil.
Start with short puffs to get a feel for the vapor. If you experience any burning taste, stop immediately and recheck your setup. It may mean the coil isn’t fully saturated or the wattage is too high.
Tips for a Smooth Vape Experience
To keep your vape performing at its best, make regular maintenance part of your routine. Always clean the tank or pod when switching flavors to avoid mixing tastes. Change coils when the vapor becomes weak or flavor dull. Store your vape upright to prevent leaks and avoid exposing it to extreme temperatures.
Another crucial tip in any vape setup tutorial is monitoring e-liquid levels. Never let your tank run dry, as it can burn the coil and leave a nasty taste. Most tanks and pods are semi-transparent, making it easy to see when you need a refill.
If your device has firmware updates (some advanced mods do), check the manufacturer’s website periodically. Updated firmware can improve performance, fix bugs, or add new features.
Common Vape Setup Mistakes to Avoid
Even seasoned vapers make errors, especially when trying new hardware. One of the most frequent mistakes is failing to prime the coil properly. This often results in burnt hits and wasted coils. Another common error is overfilling the tank, which leads to leaks and gurgling.
Avoid using the wrong e-liquid type for your device. High VG e-liquids are great for sub-ohm mods but can clog small coils in pod systems. Similarly, nicotine salts are ideal for low-wattage devices but can be too strong in high-powered mods. Also, never leave your vape charging overnight or unattended. Overcharging lithium batteries is a fire hazard. Always use the correct charger and follow the manufacturer’s instructions.
Mastering your vape setup is the first step toward a satisfying vaping experience. By following this comprehensive vape setup tutorial, you’ll avoid common pitfalls and ensure your device functions smoothly from day one. Whether you’re using a simple pod system or a feature-rich mod, the principles remain consistent: charge, prime, fill, assemble, adjust, and enjoy.
As you become more familiar with your device, you’ll develop your preferences for airflow, wattage, and flavors. Don’t hesitate to experiment within safe boundaries. And always remember, a proper vape setup not only enhances flavor and vapor but also extends the life of your hardware. Ready to get started? Grab your vape device and follow this tutorial step-by-step—your ideal vape session awaits.
FAQs
How do I know when to change my vape coil?
You should replace your coil when you notice a burnt taste, weak vapor, or muted flavor. Coils generally last 1–2 weeks depending on use and liquid type.
Why is my vape leaking?
Leaks can happen due to overfilling, damaged seals, or incorrect coil installation. Always check O-rings and avoid filling beyond the maximum level.
Can I use any e-liquid in any vape device?
Not all e-liquids suit every device. Use high VG liquids for sub-ohm mods and nicotine salt e-liquids for low-wattage pod systems. Always check your device’s recommendations.
What wattage should I set my vape to?
Set your device to the wattage recommended for your coil, usually printed on the coil itself. Start at the lower end and increase gradually.
How do I stop my vape from spitting or gurgling?
Spitback often results from excess e-liquid in the coil. Try lowering your wattage, cleaning the coil, or replacing it if it’s oversaturated.
Is it bad to vape without priming the coil?
Yes. Failing to prime your coil leads to dry hits and can burn the cotton inside, ruining the coil instantly and creating an unpleasant taste.