How to Build Your Own Coils: A Step-by-Step Guide
Building your own vape coils can seem intimidating at first, but with the right guidance, it becomes an enjoyable and rewarding hobby. Whether you’re a beginner wanting better flavor and vapor or an experienced vaper looking to customize your setup, this coil building guide covers everything you need. From choosing the right materials to mastering wrapping techniques, you’ll learn how to create coils that suit your vaping style perfectly.
Why Build Your Own Coils?
Before diving into the steps, it’s important to understand why coil building is worth the effort. DIY coils allow you to:
- Customize resistance for a tailored vaping experience
- Save money compared to buying pre-made coils
- Improve flavor and vapor production
- Learn more about your vaping device and how it works
Building your own coils empowers you to take full control of your vape. Now, let’s walk through the entire coil building process.
Understanding the Basics of Coil Building
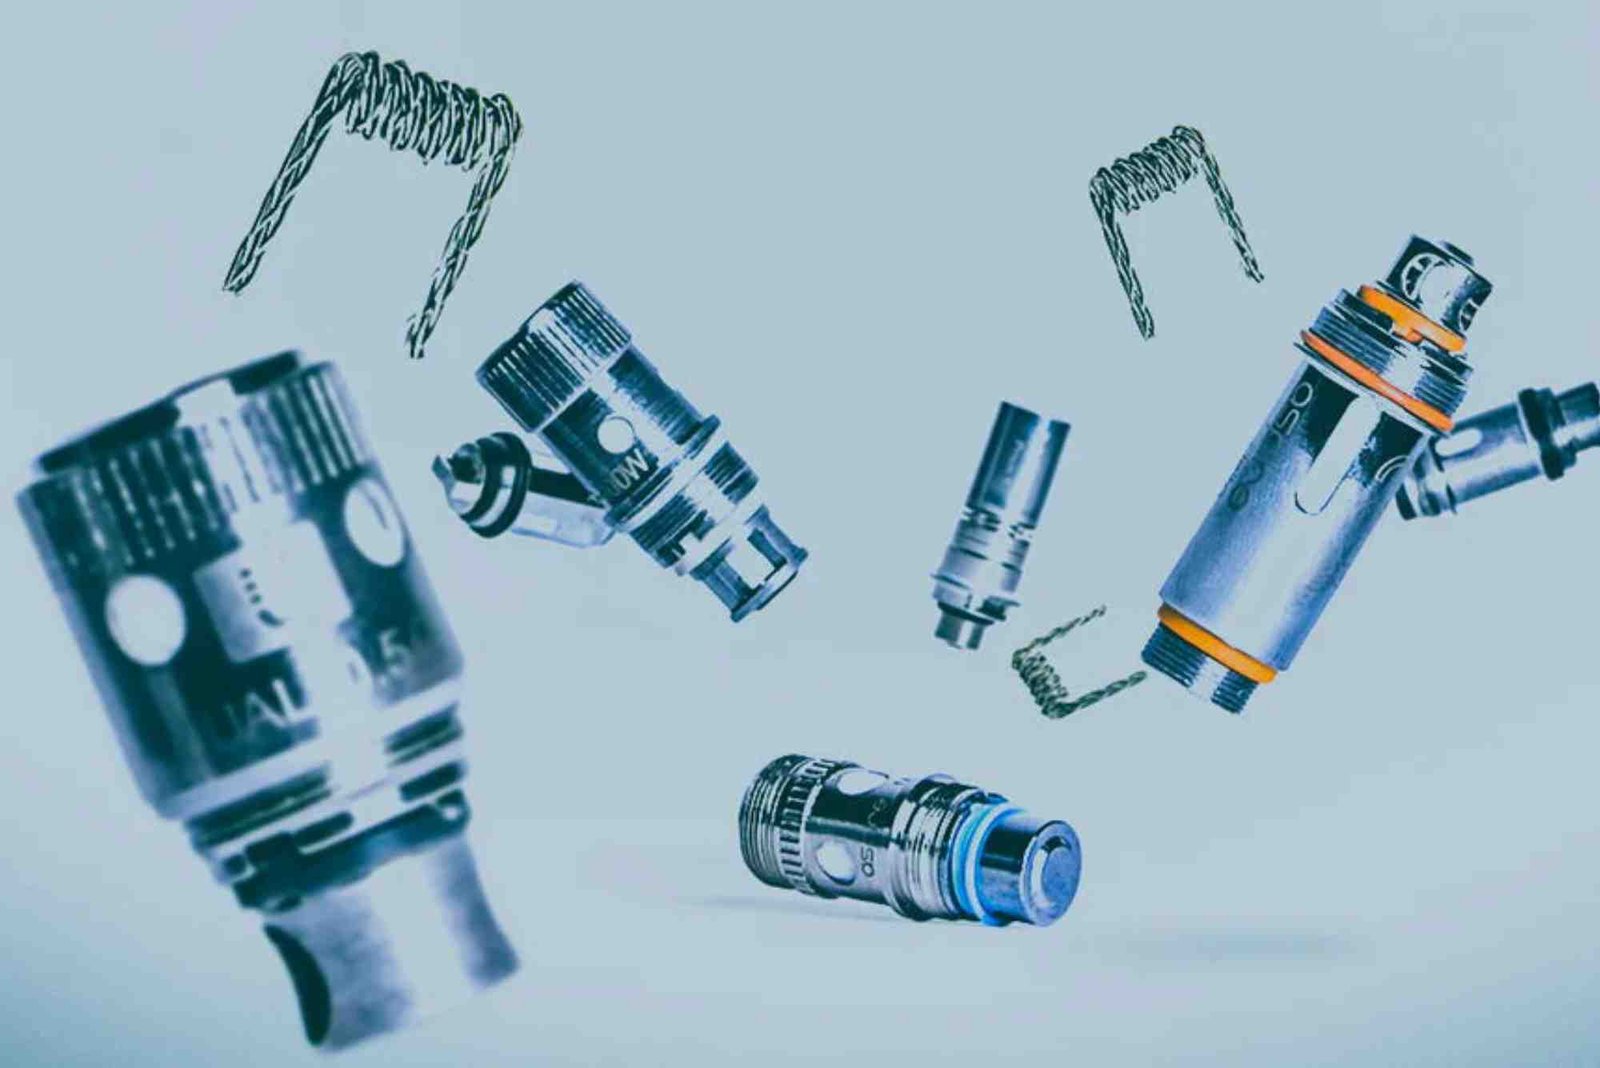
What is a Coil?
A coil is a wire wrapped into a spiral shape inside your vape’s atomizer. When electricity flows through it, the coil heats up and vaporizes your e-liquid. The quality, resistance, and shape of your coil affect how your vape performs.
Types of Wire for Coil Building
Choosing the right wire is essential. Common types include:
- Kanthal: Durable and easy to work with, perfect for beginners.
- Nichrome (Ni80): Heats up faster than Kanthal, offering better flavor.
- Stainless Steel: Versatile, usable in both wattage and temperature control modes.
- Nickel (Ni200): Used mainly for temperature control vaping.
Each wire type has different resistivity and heat characteristics. Kanthal and Nichrome are usually the best starting points.
Step-by-Step Coil Building Guide
Gather Your Tools and Materials
Before you start, make sure you have:
- Wire spool (Kanthal or Nichrome recommended for beginners)
- Coil jig or rod (2-3 mm diameter)
- Wire cutters
- Ceramic tweezers
- Ohm reader or regulated mod with resistance check
- Cotton wick (organic cotton preferred)
Having these tools ready ensures a smooth coil building process.
Cut the Wire
Cut a length of wire around 6-8 inches. This gives you enough length to wrap multiple coils and trim any excess.
Wrap the Coil
Using your coil jig or a small screwdriver, wrap the wire tightly around the rod. The number of wraps depends on your desired resistance, but 5-8 wraps are typical for beginners.
Keep each wrap close but not overlapping. Even spacing allows better heating and airflow.
Check Coil Resistance
Place your coil on an ohm reader or your regulated mod to check resistance. This step is crucial to ensure safety and optimal performance.
Typical beginner coil resistance ranges from 0.3 to 1.0 ohms, depending on your device and preferences.
Install the Coil on Your Atomizer
Carefully install the coil into your atomizer’s posts. Use a screwdriver to tighten the screws, securing the coil legs in place.
Make sure the coil is centered and positioned to avoid touching other metal parts, which can cause shorts.
Dry Burn and Adjust the Coil
Fire the coil at a low wattage to remove hotspots. Using ceramic tweezers, gently pinch and squeeze the coil while firing to make sure it heats evenly from the center outwards.
A properly glowing coil heats uniformly without bright spots.
Wick the Coil
Cut a strip of organic cotton slightly wider than your coil’s diameter. Thread it through the coil snugly but not too tight.
Trim the cotton ends and tuck them into the atomizer’s juice well. This wick will absorb e-liquid and deliver it to the coil.
Saturate and Test
Saturate the cotton with e-liquid, letting it soak in well. Take gentle puffs without firing initially to prevent dry hits.
Fire your mod and enjoy the first few vapes of your custom-built coil.
Tips for Successful Coil Building
How to Choose the Right Coil Resistance?
Coil resistance affects vapor temperature and flavor. Lower resistance (sub-ohm) produces warmer vapor and bigger clouds but drains batteries faster.
If you’re new, start with 0.5-1.0 ohm coils to balance flavor and longevity.
How Often Should You Replace Your Coils?
Replace coils every 1-2 weeks or when you notice:
- Burnt taste
- Decreased vapor production
- Gurgling or leaking
Proper wicking and regular cleaning can extend coil life.
Can You Reuse Coils?
While some coils can be cleaned and reused, it’s best to build fresh coils regularly for the best flavor and safety.
Frequently Asked Questions (FAQ)
How do I know which wire gauge to use?
Wire gauge affects resistance and heat time. Thicker wire (lower gauge) heats slower but lasts longer. 26-28 gauge Kanthal is a popular choice for beginners.
Is coil building safe?
Yes, if done properly. Always check your coil’s resistance and ensure your battery can handle it. Use regulated mods and follow safety guidelines.
What is the difference between clapton and simple coils?
Clapton coils are wrapped with a thin wire around a thicker core wire. They offer more surface area for flavor but are harder to build. Simple coils are just single wire wraps.
Can I build coils for temperature control?
Yes, but use specific wires like Nickel or Stainless Steel and a mod that supports temperature control.
Where can I learn more about coil building?
Trusted vaping websites and forums like Vaping360 and Reddit’s r/electronic_cigarette offer great tutorials and community support.
Take Your Vaping Experience to the Next Level
Building your own coils may seem challenging, but with patience and practice, it becomes second nature. This coil building guide provides a clear path to creating coils that enhance flavor, vapor, and overall satisfaction.
Ready to upgrade your vape? Gather your tools, follow these steps carefully, and enjoy the benefits of custom-built coils. Happy vaping!
If you want to dive deeper into vape customization or need tips on device maintenance, explore our related articles and keep learning.