Exploring the World of DIY E-Liquids
DIY vaping has taken the e-cigarette world by storm. For vapers looking to take full control of their experience, learning how to create your own vape juice is both empowering and cost-effective. Whether you’re trying to craft the perfect throat hit or recreate a favorite flavor, this DIY e-liquid guide will walk you through everything you need to know — from ingredients and mixing methods to safety precautions and flavor blending tips.
Why Make Your Own E-Liquid?
Crafting your own e-juice offers several benefits. First, it gives you complete control over nicotine strength, VG/PG ratio, and flavor intensity. Secondly, it’s significantly cheaper than buying pre-made bottles. Most importantly, it opens the door to a more personalized vaping experience that suits your exact preferences.
What You Need to Get Started
Essential Ingredients
To begin your DIY journey, you’ll need four main components:
- Vegetable Glycerin (VG): Produces thick vapor and smooth hits. Ideal for sub-ohm vapers.
- Propylene Glycol (PG): Carries flavor better and offers a stronger throat hit.
- Nicotine: Optional, but many users include it. Must be handled with care.
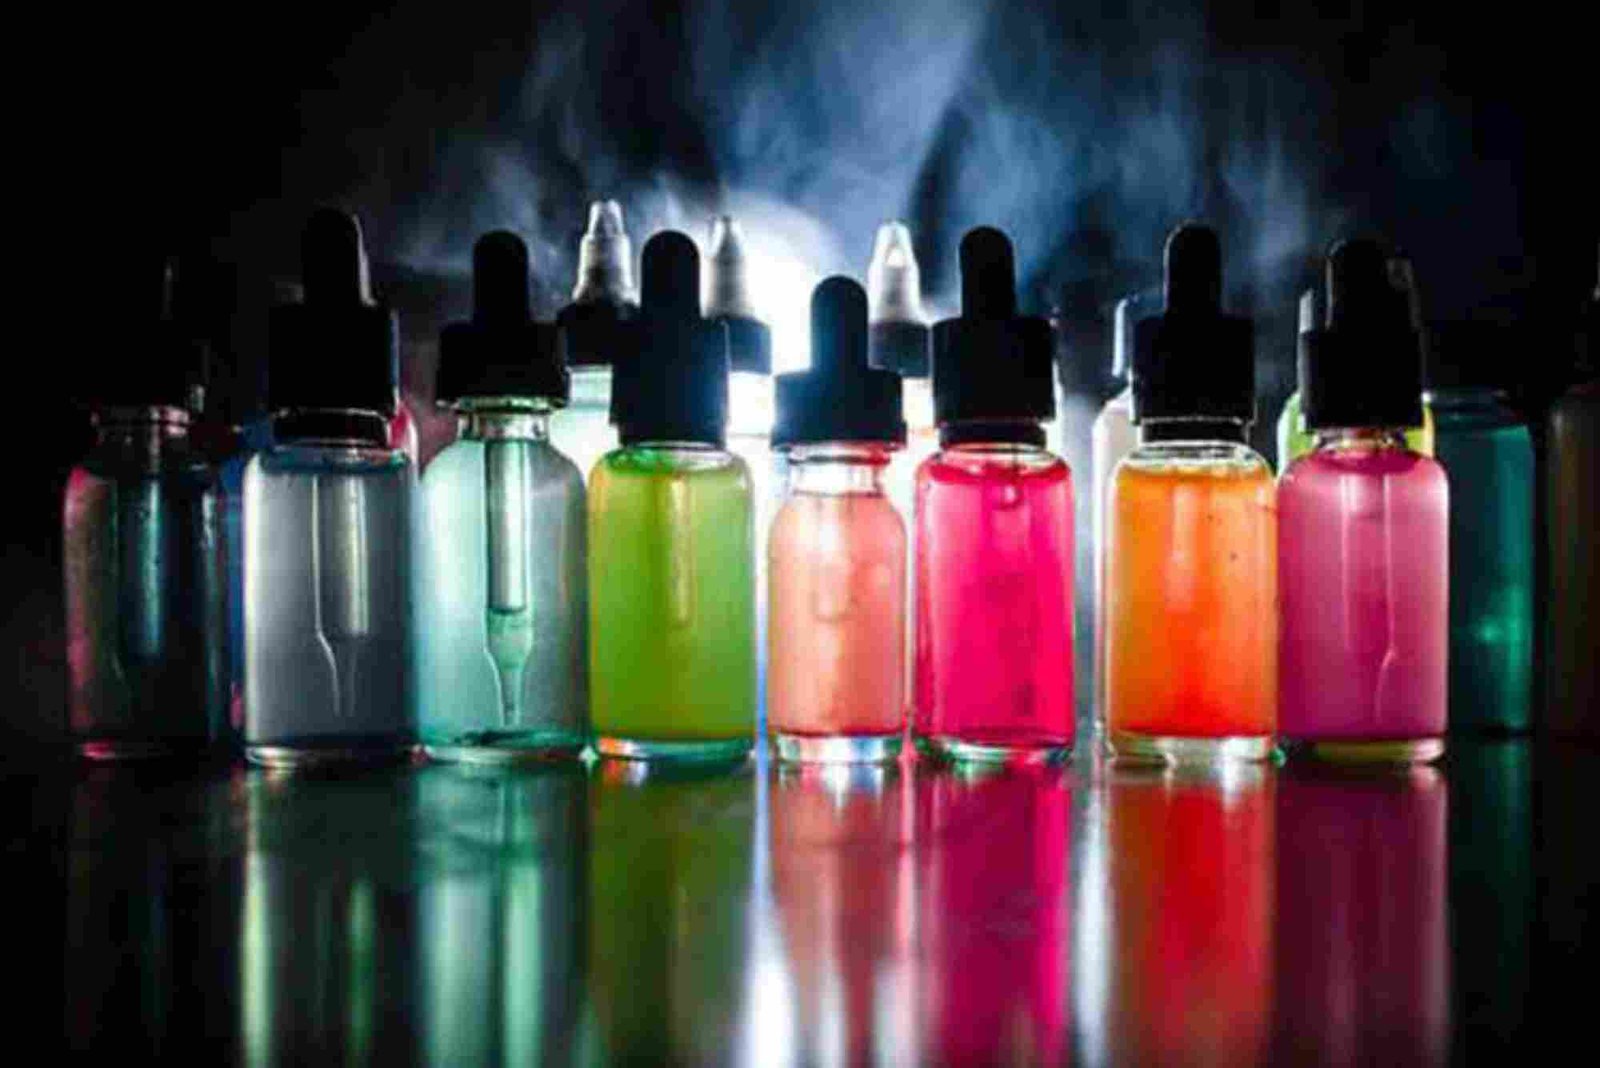
- Flavor Concentrates: Available in thousands of variations, from fruits to desserts.
Make sure your ingredients are USP-grade and from reputable sources like Liquid Barn or Wizard Labs.
Tools for Mixing
- Syringes or pipettes (1ml–10ml sizes)
- Digital scale (precision up to 0.01g)
- Glass or plastic bottles with caps
- Labels for tracking recipes
- Gloves and protective eyewear
Using a scale over volume measurements is often more accurate and reduces mess.
Step-by-Step: How to Mix E-Liquid
Choose Your Ratio
The VG/PG ratio affects throat hit and vapor production. A 70/30 VG/PG mix is popular for cloud chasers, while 50/50 is ideal for mouth-to-lung (MTL) devices. Adjust based on your vaping style.
Decide on Nicotine Strength
Consider your current use. A 3mg/ml strength is common for sub-ohm users, while MTL users might prefer 6–12mg/ml. If you’re quitting smoking, higher strengths may help the transition.
Select and Measure Flavorings
Most flavorings make up 5%–20% of your total mix. Start low — you can always add more later. Check manufacturer guidelines and community feedback.
Combine and Mix
Use your scale to weigh each ingredient into your bottle. Secure the cap and shake thoroughly. Some mixes may require steeping to enhance flavor.
Steep (Optional but Recommended)
Steeping is like letting wine age. It improves flavor harmony, especially for custards, desserts, or tobacco blends. Store in a cool, dark place for 1–3 weeks.
Safety Tips for DIY E-Liquid Mixing
- Always wear gloves when handling nicotine.
- Mix in a well-ventilated area.
- Keep ingredients out of reach of children and pets.
- Label everything clearly with date, ingredients, and strength.
- Dispose of waste properly following local guidelines.
Popular Flavor Combinations to Try
Fruity Mixes
- Strawberry + Kiwi + Dragonfruit
- Mango + Peach + Ice
Dessert Blends
- Vanilla Custard + Graham Cracker + Caramel
- Chocolate + Peanut Butter + Marshmallow
Beverage-Inspired
- Coffee + Hazelnut + Cream
- Cola + Lime + Menthol
Experiment with ratios, but keep detailed notes to reproduce or improve your blend.
Where to Buy DIY E-Liquid Supplies
Here are some trusted sources for ingredients and tools:
- Nicotine River – Nicotine and flavor concentrates
- EcigExpress – DIY kits and recipes
- Flavor Jungle – Wide flavor selection
Be sure to check reviews and MSDS sheets for transparency and quality assurance.
Common Mistakes to Avoid
Using Too Much Flavor
More isn’t always better. Over-flavoring can result in harsh or muted taste. Start small and increase gradually.
Not Testing Nicotine
Nicotine oxidizes and degrades. Always test its clarity and smell. Discoloration may indicate it’s no longer safe.
Skipping the Steep
Some flavors need time to mature. If your first mix tastes off, give it a week and test again before giving up.
DIY E-Liquid Guide: Real-Life Tips from Experienced Mixers
- Join vaping forums like Reddit’s r/DIY_eJuice. You’ll find user-tested recipes, reviews, and help.
- Keep a recipe journal. Log each mix’s ingredients, steep time, and taste feedback.
- Use glass bottles for long-term storage. Plastic can interact with nicotine over time.
- Try one change at a time. When improving a recipe, isolate variables so you know what caused the difference.
Is DIY E-Liquid Legal?
In most countries, making your own vape juice for personal use is legal. However, selling or distributing your mixes often requires compliance with local tobacco or vape product laws, including testing and labeling regulations. Always check your local laws to stay compliant.
FAQs About DIY E-Liquids
What is the best VG/PG ratio for beginners?
A 50/50 VG/PG ratio is a balanced starting point. It offers decent vapor and strong flavor, ideal for starter kits and pod systems.
Is DIY e-liquid cheaper than store-bought?
Yes. A 60ml bottle may cost less than $1 to make, compared to $15–$25 at retail. You save significantly in the long run.
How long does homemade e-liquid last?
Most DIY e-liquids last 1–2 years if stored properly. Use amber bottles, keep away from light, and avoid high heat.
Can I vape e-liquid right after mixing?
Yes, but the flavor may not be fully developed. Allow at least a few hours to 1 week for the best results, depending on the recipe.
What is the safest nicotine to use?
100mg/ml diluted in VG or PG is common, but use extreme caution. Many mixers prefer lower concentrations (36mg/ml) for safety.
Creating your own vape juice isn’t just about saving money — it’s about crafting a truly personalized experience. This DIY e-liquid guide is your entry point into a rewarding hobby that offers creative freedom, customization, and satisfaction that store-bought products can’t match.
If you’re serious about quitting smoking, refining your vape, or just want to experiment, there’s no better time to start than now.
Ready to mix your first batch?
Gather your supplies, pick a simple recipe, and give it a shot. You might just discover your perfect all-day vape.